
If you’ve been following along with this series, you’ve got an AI assistant running in a VM. Maybe you’ve built the file drop tool and started exploring what it can do. At some point you’ve probably asked your assistant to build you a web page or a dashboard, and it worked, but then you had to figure out how to keep it running. Where does it serve the page? What port? And when you close the session, the server disappears and you’re setting it up again next time.
That’s the gap PAI Companion fills. It gives your assistant a single, persistent service that serves all the web content it creates for you. One Docker container, always running, no re-explaining the setup every session.
What It Is
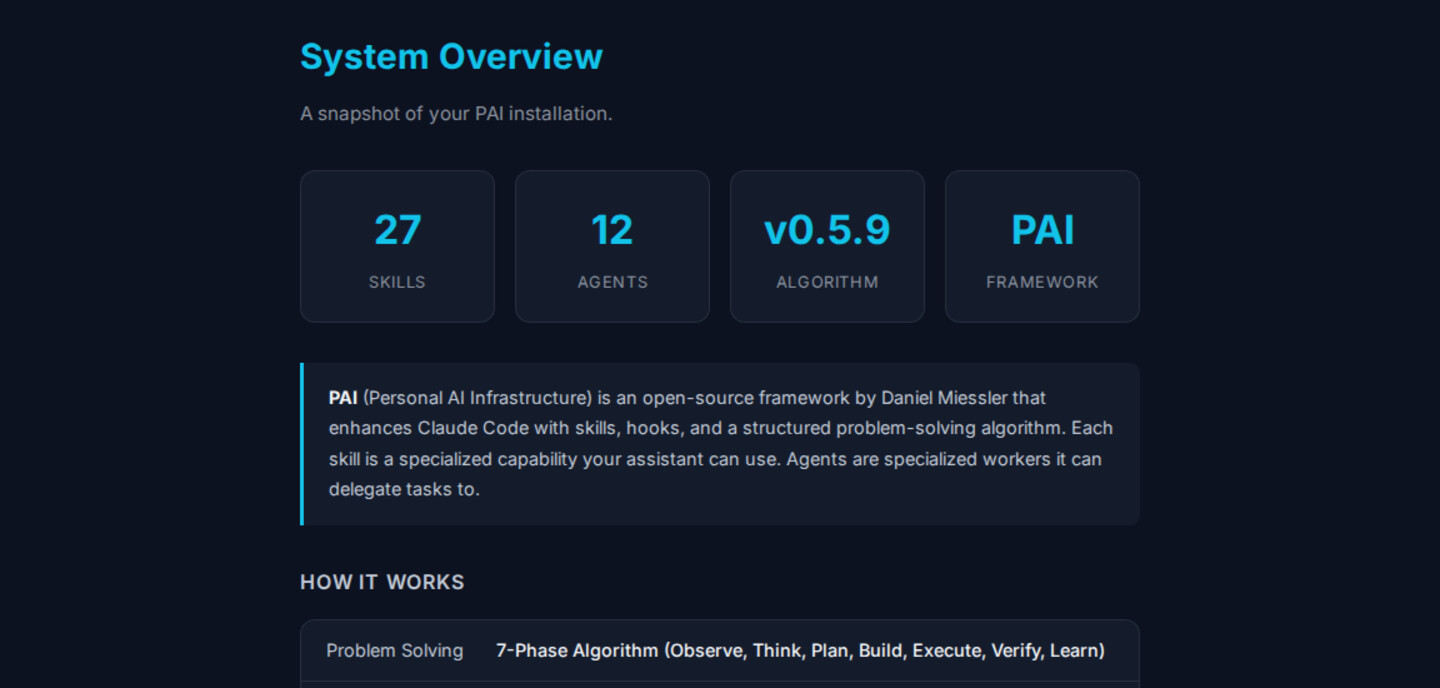
PAI Companion is a simple add-on for PAI , Daniel Miessler’s open-source framework for enhancing Claude Code. It adds some infrastructure for visual output so your assistant can create web pages, dashboards, reports, and styled documents that you can view in your browser. It does make some additions to your PAI configuration (steering rules, a design system, identity context), but it shouldn’t break anything.
Here’s what it sets up:
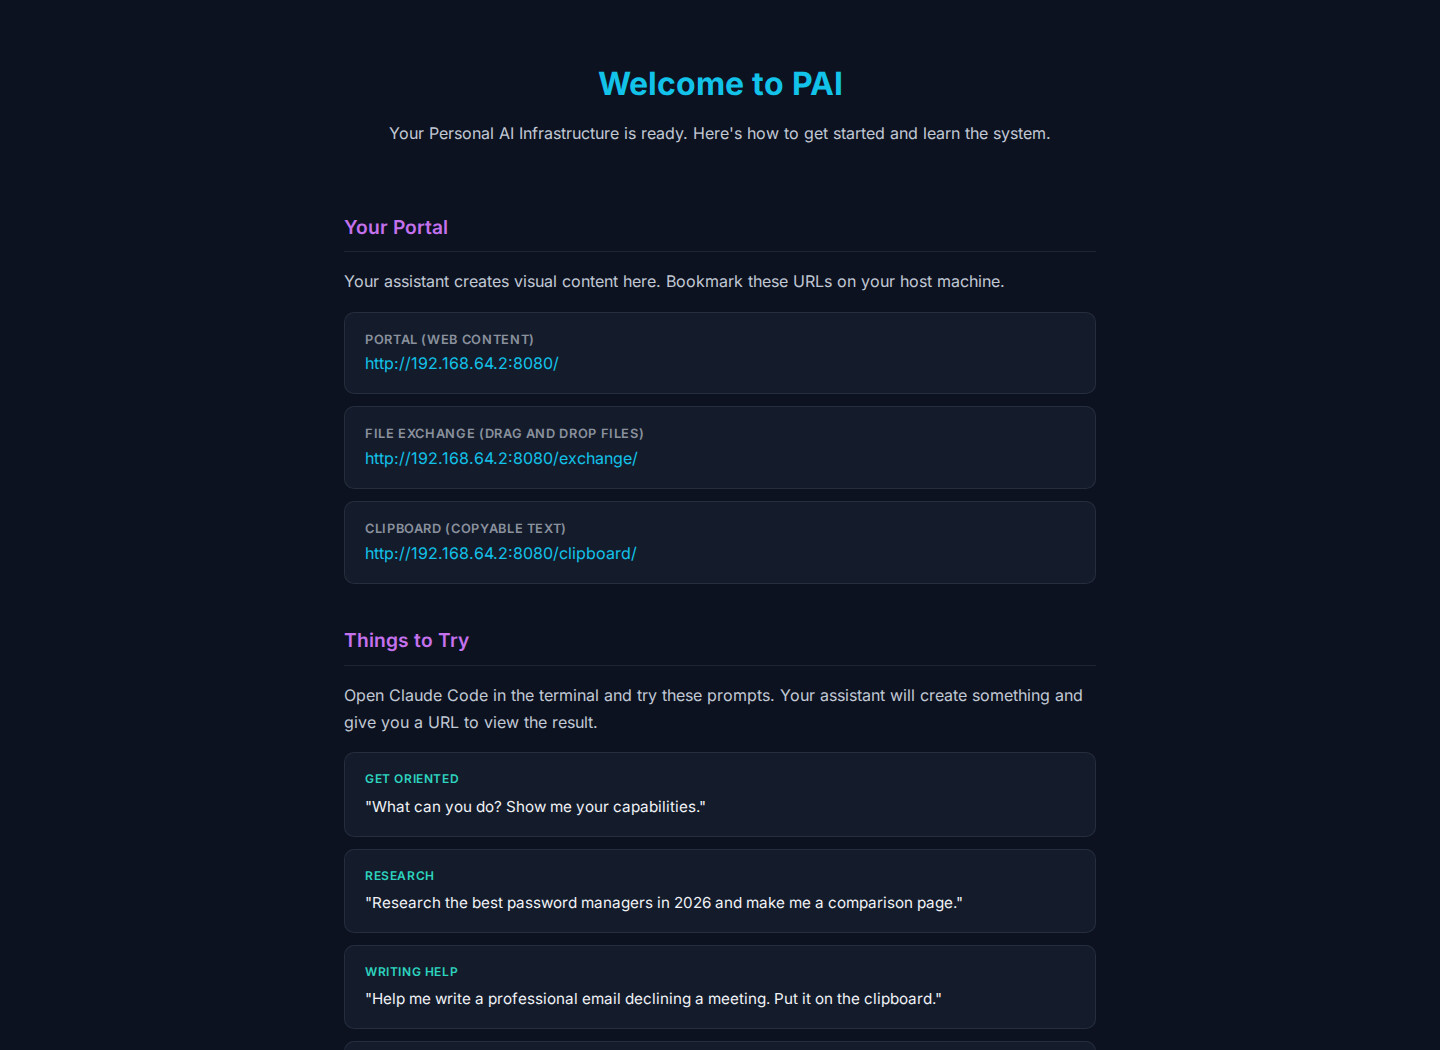
- A portal server that serves web content your assistant creates. Ask it to build you something, and it shows up at a URL you can open from your host machine. One service, always running.
- A file exchange with drag-and-drop in the browser. Similar to the file drop tool from the last post, but integrated into the portal.
- A clipboard page for when your assistant generates text you want to copy, like an email draft or a code snippet.
- A dark theme design system so everything your assistant builds looks consistent and clean out of the box.
- Directory conventions that organize your home directory so files land in predictable places.
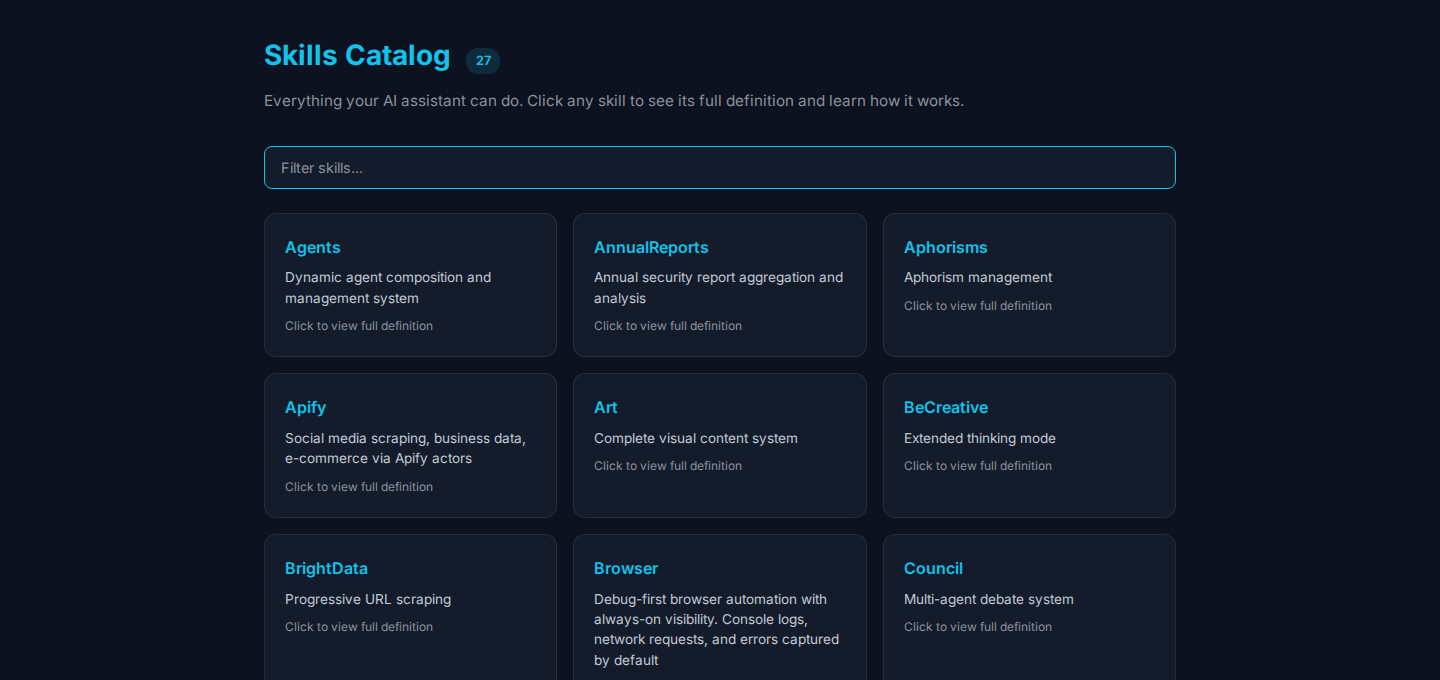
- A browsable skills catalog and agent roster so you can explore what your assistant can do from a web page. Click any skill to read its full definition, or any agent to see its profile and capabilities.
- A welcome page with example prompts and a quick explanation of how everything fits together.
This is just one approach to giving your assistant visual output. It’s not the only way, and it’s not necessarily a complete setup. It’s a starting point that works for me and might work for you.
Who This Is For
This is probably most useful if you’re someone who benefits from visual feedback. If you’re comfortable reading terminal output all day, you might not need this. But if you like seeing things rendered in a browser, if dashboards and styled pages make information click faster for you, this gives your assistant the ability to communicate that way.
It’s also helpful if you’re running in a VM like I recommend. The portal gives you a clean way to view your assistant’s output from your host machine without thinking about ports and file paths every time.
Who This Is Not For
If you’re running PAI on a VPS or any server exposed to the internet, this is not for you. The portal server runs over HTTP. There’s no authentication, no encryption, and no access controls. Anyone who can reach the port can see whatever’s being served.
This is designed for a VM on your local machine or your local network. That includes VMs running on your laptop, on a home server, or on a hypervisor like Proxmox. The point is it’s on a network you control. That’s a very different risk profile than something sitting on the open internet.
What to Expect
I want to be straightforward: it’s a work in progress. It should work. I’ve helped a few friends set it up, and the package is based at least partially on the system I’m actually running. But it’s still evolving. Things might change. There might be rough edges.
The setup is designed to be resumable. Each phase is independently verifiable, so if something breaks or you need to come back to it, you can pick up where you left off.
Before You Start
You need a handful of things installed before running the companion setup. If you followed the earlier setup post , you already have most of them. The only new addition is Docker.
If you haven’t done the setup post yet, you’ll need to install the basics first. Run everything as a regular user with sudo access, not as root. (If your distro didn’t create one during installation, here’s how to set that up .)
sudo apt update && sudo apt install -y curl git zip

curl -fsSL https://bun.sh/install | bash && source ~/.bashrc

curl -fsSL https://claude.ai/install.sh | bash

git clone https://github.com/danielmiessler/PAI.git
cp -r PAI/Releases/v3.0/.claude ~/ && cd ~/.claude && bash install.sh

[ -f ~/.zshrc ] && cat ~/.zshrc >> ~/.bashrc
source ~/.bashrc
Docker is the one thing the companion setup can’t work without. If you don’t have it yet:
curl -fsSL https://get.docker.com | bash
sudo usermod -aG docker $USER
Log out and back in after that, then verify it works without sudo:
docker run --rm hello-world
Why not let the assistant handle this? We don’t give Claude Code sudo access. That’s intentional. These prerequisites need elevated privileges, so you run them yourself. Once the companion is set up, nothing else needs sudo.
The companion repo also has a full prerequisites file with optional extras like Playwright and useful CLI tools.
Installing the Companion
Once Docker is working and you’ve got PAI v3.0 running, clone the repo into your VM:
git clone https://github.com/chriscantey/pai-companion.git ~/pai-companion
Then open PAI / Claude Code and say:
Read ~/pai-companion/companion/INSTALL.md and follow the setup phases.
Your assistant handles the rest. It will walk through each phase, setting up the portal server, file exchange, clipboard, design system, and directory structure. When it’s done, you’ll have URLs for the portal, the file exchange, and the clipboard.
The first thing I’d check out is the welcome page. It has example prompts you can try, a quick breakdown of how the system works, and links to the skills catalog and agent roster so you can browse what your assistant can do.
What’s Next
This is still being shaped. I’ll probably do another pass on the package as I keep refining my own setup, and I’d like to get more feedback from people actually using it. If you try it out and run into something, the GitHub repo is the place to raise it.
Part of the PAI Setup Series. Previous: File Drops for Your AI Assistant VM