
Heads up before you start: This is the updated successor to my original PAI setup guide from the PAI 3/4 days, rewritten for PAI 5. It installs PAI v5.0.0, pinned, and that’s on purpose. It’s the exact version I run every day and have stood up on multiple machines over months of real use. Since I wrote this, the project got renamed to LifeOS and is already at v7. I haven’t made the leap yet, but I’m excited to, and when I do you’ll get a tested upgrade guide. Until then, this will get you running with the setup I’m very fond of and using today.
You’ve probably used Claude or ChatGPT in a browser or app. You type a message, it responds, you ask it for something, it generates documents and content for you. But then you have to download it, copy and paste it, put it where it needs to go. That’s useful, but it’s limited by how quickly you can move data back and forth between what it’s building, the notes you’re feeding it, and the places you’re testing and checking its work.
You may have also used coding assistants like GitHub Copilot or Cursor. These go further: they can see the context of actual code in a folder or repository, and they’re not just making suggestions, they’re writing code for you. You might have even used Claude as the model behind Copilot. But the AI is still limited to what you give it, either as explicit context or what’s in that project folder.
Claude Code is different. It’s Anthropic’s command-line tool that runs as an agent on your machine. It can read files anywhere on your system, write code, run commands, make API calls, and interact with tools. It’s not scoped to a single folder or IDE (unless you scope it yourself). Think of it less like a chatbot and more like a collaborator who can actually operate your computer. Depending on the access and tools you give it, it can do most of what you’d do at a terminal yourself.
The name “Claude Code” is a bit misleading. Yes, it’s great at coding. But it’s also great at everything else: writing, research, file management, automation, building tools. It’s really more of a personal AI assistant that happens to run in a terminal. The name will probably evolve, but for now, that’s what we’ve got, and it works really well.
A lot of people run Claude Code directly on their personal machines, whether that’s Mac, Windows, or Linux. That can be a valid choice once you understand what it can do, how to limit it, and how to protect your data and system. But I’m choosing to run mine in a Linux VM for now. I have too much sensitive stuff accessible from my main computer, and while I’m in this exploratory learning-and-building mode with Claude, I don’t want to have to monitor its every move the way I would on my personal machine. A more contained environment lets me learn faster with less anxiety. And Linux VMs are something I’m comfortable setting up and managing.
Claude Code is very capable on its own. You can teach it a lot just with text files, folders, and structure. But here’s the thing about this current realm of AI LLMs we’ve got: the more information you load into a conversation, the more it has to juggle at once, and at some point that starts to limit what it can effectively do. So you don’t want to overwhelm it. You want to guide it in the right direction for whatever you’re working on, loading in just what it needs at any given time.
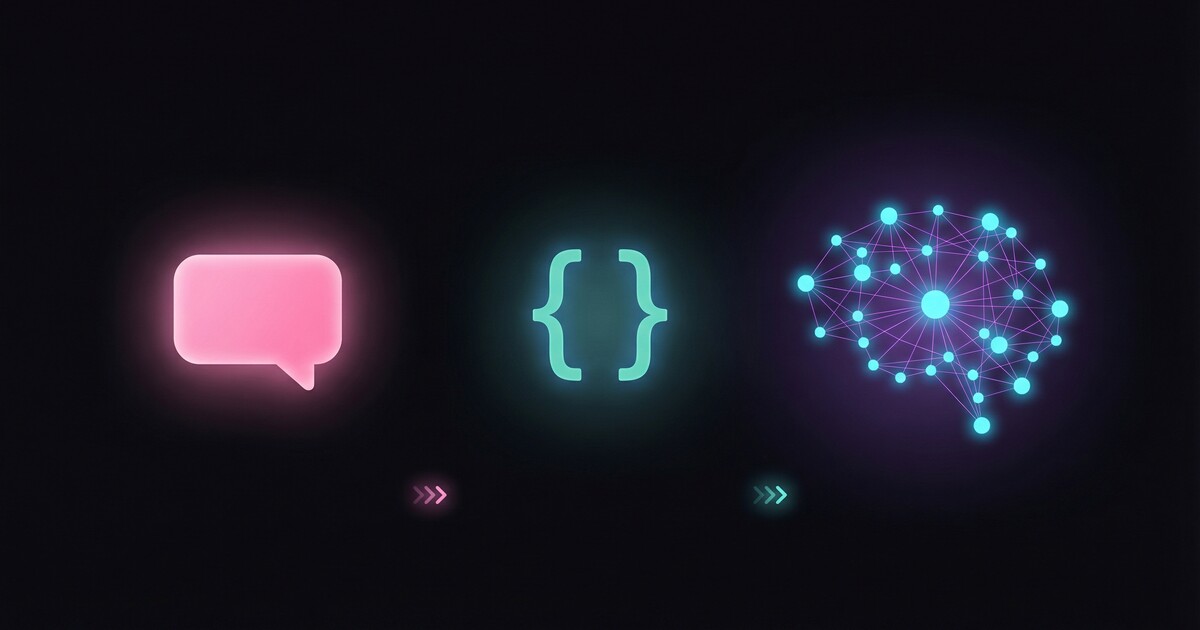
This is where structure really helps. Claude Code has a way of loading context on demand. You can have tons of information about how to do different types of tasks, organized into skills and workflows and folders, and Claude can choose what to load based on what you’re actually asking it to do. That means you get the benefit of all that knowledge without stuffing everything into every conversation.
You can build this structure yourself, or you can use someone else’s that they’ve figured out works well. There are probably thousands of different approaches out there. People are publishing their workflows on YouTube, Reddit, and blogs all the time. They’re all worth exploring to see what resonates with you.
What has worked really well for me is a project called PAI (Personal AI Infrastructure) by Daniel Miessler. It immediately adds structure on top of Claude Code: skills, workflows, hooks, customization. It helps Claude think and respond in ways that match how I want to work. That might sound vague right now, but it’ll make a lot more sense once you start playing with it.
I wrote a version of this guide a few months ago for PAI v4. Since then, PAI has had a big release. Version 5 reframes the whole thing as a “Life Operating System” — it’s less “AI scaffolding” and more a system for capturing what you care about and helping you move toward it. There’s a unified daemon called Pulse that runs a dashboard at localhost:31337, a “DA” (Digital Assistant) identity layer so the assistant has a name and a personality, and a much smoother installer. Rather than edit the old post into something unrecognizable, I’m starting fresh here for PAI 5. The shape of the setup is the same; the details have moved.
That’s what this article is for: to help you get started playing with it, and to do that in a safer way than just installing it directly on your main computer. Once you have it running, you can go back and read Daniel’s really excellent article on PAI to understand the philosophy and architecture. The concepts will land much better once you’ve actually used the system.
One note before we go further, because the timing matters. This project moves fast. In July 2026, a couple months after I wrote most of this guide, Daniel renamed PAI to LifeOS and has since shipped versions 6 and 7. This guide still installs PAI v5.0.0, on purpose. It’s the version I run every day, and the version behind several other long-running Linux installs I maintain that have been running reliably for months. I haven’t put 6 or 7 through that kind of real-world testing yet. I’m still happily on PAI 5, and I’m genuinely excited to make the LifeOS leap once I can test it properly. Rather than point you at the newest thing and hope, this guide pins the exact version I can vouch for today. The install step below fetches a frozen v5.0.0 snapshot, so upstream’s newer releases won’t change what you get. When I’ve properly vetted a newer version, I’ll publish an upgrade guide like the one I wrote for v3 to v4.
Why a VM?
Claude Code runs commands, writes files, and makes API calls. That’s what makes it powerful. It’s also why I’d recommend starting in a contained environment.
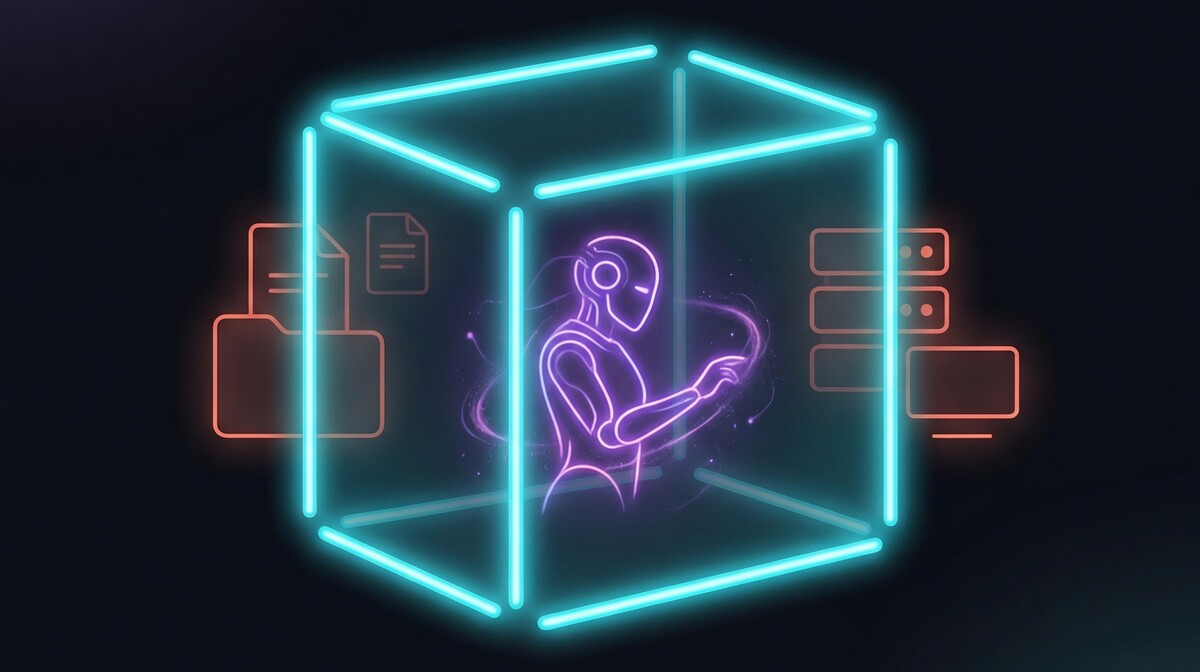
A Linux VM gives you room to experiment without worrying about your main system. You can let Claude run more freely, see what it’s capable of, and develop your own comfort level over time. You also get space to understand the security settings, learn how to limit things, and understand what you’re saying “yes” to when you grant permissions.
You might even eventually move it to your main machine. But starting in a VM gives you the room to learn first.
Prerequisites
Before we start, you’ll need:
- A Linux environment (one of the following):
- A VM on your computer
- A Raspberry Pi 4/5 with 8GB RAM
- An old computer you can wipe
- Terminal access (SSH if remote, or direct terminal access)
- Basic command line comfort (or willingness to learn as you go, Claude can help!)
- An Anthropic account with Claude Pro ($20/month)
Setting Up a Linux Environment
If you already have a hypervisor or home lab, you know what to do. If not, here are your options:
Option 1: VM on your computer (recommended for most people)
This is free, gives you the best performance, and keeps everything local.
- VirtualBox - Free and open source, works on Windows, Mac, and Linux
- UTM - Free, open source, Mac-native (recommended for Apple Silicon Macs)
If you’ve never set up a VM before, NetworkChuck has an excellent video explaining what VMs are and how to set up VirtualBox. Ubuntu also has an official tutorial for running Ubuntu in VirtualBox.
Note on Ubuntu versions: These links may reference an older version of Ubuntu. The recommended current version as of this writing is Ubuntu Server 24.04 LTS. Download Ubuntu Server and select your architecture (AMD64 for Intel/AMD, ARM64 for Apple Silicon).
Note for Mac users: NetworkChuck’s video covers AMD64 (Intel/AMD) setups, including BIOS settings for virtualization. On Apple Silicon Macs, you don’t need to change any BIOS settings. VirtualBox works, but UTM is generally smoother. Either way, download the ARM64 version of Ubuntu, not the standard AMD64 image.
Option 2: Raspberry Pi or old computer
A Raspberry Pi 4 or 5 with 8GB RAM works well. So does any old computer you can wipe and install Linux on. This gives you a dedicated always-on system.
Option 3: Cloud VPS (advanced)
Cloud providers like DigitalOcean, Linode, or Vultr work, but introduce additional complexity: you’ll need to configure firewalls, consider HTTPS for any web content, and manage a publicly-accessible server. If you’re comfortable with that, go for it. Otherwise, start local.
What to install:
I recommend Ubuntu Server 24.04 LTS. It’s well-documented, beginner-friendly, and the installer walks you through creating a non-root user with sudo access (which is what you want). Skip the desktop environment; you’ll be working at the command line.
Before continuing:
You should be at a command line in your VM, logged in as a non-root user that has sudo access. Ubuntu creates this during installation. If you’re using Debian or another distro that defaults to root only, here’s how to create a sudo-enabled user (the steps work on Debian too).
Tip: You probably already have access to Claude in your web browser, or another AI assistant. If you get stuck at any point, they can be really helpful for figuring out specific steps. Just tell them where you are and what you’re trying to do.
A Note on curl | bash
You’re about to see a few commands that look like curl ... | bash. This pattern downloads a script from the internet and runs it directly on your machine. Security folks tend to cringe at this pattern, and for good reason. It’s not something you’d normally do on a production system or a machine with sensitive data.
That’s part of why we set up this VM. In a contained environment, you can be a little less cautious. But also these particular sources (Anthropic’s installer, Bun’s installer, the PAI installer) are generally trustworthy. But it’s worth noticing what you’re doing: you’re running code from the internet based on trust in the source.
We’ll come back to this idea later, because there’s an interesting parallel when we start giving Claude instructions from external sources.
Step 1: Install Dependencies
We only need a couple things to get started:
sudo apt-get update && sudo apt-get install -y curl git zip unzip
(unzip isn’t always present on a minimal server image, and the Bun installer needs it. Installing it now saves a confusing error later.)
Step 2: Install Claude Code
Anthropic provides an official installer:
curl -fsSL https://claude.ai/install.sh | bash
When the installer finishes, it will ask you to add Claude to your PATH. Run this:
echo 'export PATH="$HOME/.local/bin:$PATH"' >> ~/.bashrc
Step 3: Install Bun
Bun is a fast JavaScript runtime that Claude Code and PAI use for various tools:
curl -fsSL https://bun.sh/install | bash
Step 4: Load the New Commands
Both installers added themselves to your shell configuration so you can type simple commands like claude and bun to launch things. Load them:
source ~/.bashrc
Verify everything works:
claude --version
bun --version
Step 5: Install PAI (Version-Pinned)
Now we add the scaffolding that turns Claude Code into something more powerful.
PAI originally shipped with a one-line curl | bash installer, and earlier versions of this guide used it. We’re not doing that here, for two reasons. First, the original installer URL no longer exists (the project was renamed, see the note above). Second, and more importantly, an installer URL always hands you whatever is newest, and newest is not what we want. We want the exact version this guide was tested against. So instead we fetch the frozen v5.0.0 release directly from the project’s git tag and run the installer that ships inside it:
git clone --branch v5.0.0 --depth 1 --filter=blob:none --sparse https://github.com/danielmiessler/LifeOS.git ~/pai-v5
cd ~/pai-v5
git rev-parse HEAD
That last command is an integrity check. Git tags can be moved after the fact, so we confirm we got the exact release this guide was tested against. It should print:
12265edd740b56199a77b9d826fda27872bb04e9
If it prints anything else, stop and don’t proceed. The tag no longer points where it did when I tested this, and you’d be installing something I haven’t vouched for. If that ever happens, or if upstream disappears entirely, I’ll put up a mirror and update this post. The commit hash above is the thing to trust, not any particular hosting location.
If the check passed, pull down the v5 release files and run the installer:
git sparse-checkout set Releases/v5.0.0
bash Releases/v5.0.0/.claude/install.sh
A few things worth knowing about those commands. The repo is called LifeOS because of the rename, but the v5.0.0 tag inside it is PAI 5, frozen in time. The clone flags pull down only the v5 release (about 35 MB) instead of the entire project history. And the installer never checks the network for a newer PAI version. The only thing it will download is Bun, which you already installed in Step 3, so in practice it runs from the files you just fetched. You’ll get PAI 5 today, next month, and next year. As a bonus, you can read every line of what you’re about to run before you run it, which beats piping a stranger’s URL into bash.
This is still a nice improvement over the PAI 4 process. The installer detects that you’re on a headless Linux box (no graphical desktop) and automatically runs the terminal wizard — you don’t have to flip any flags or edit any scripts to avoid the graphical installer the way you did in older versions.
If you already have Claude Code settings you want to keep, the installer backs up your existing
~/.claude/to~/.claude.backup-{timestamp}before it does anything. Still, if you have something important in there, copy it somewhere safe first.
The wizard will check for Git, Bun, and Claude Code (you installed all three above, so it will find them and move on), then ask you a few questions. Here’s what to enter:
- Your name - Your name.
- Your AI assistant’s name - Whatever you want. This is your “DA” — your Digital Assistant. The default is PAI; I call mine Assistant.
- Timezone - It auto-detects this. Press Enter to confirm.
- Catchphrase - Press Enter for the default, or customize it.
- ElevenLabs / voice - When it asks about voice, you can skip it for now. Voice is a nice extra, but it’s not needed to get going, and you can add it later. If you skip the ElevenLabs key, the installer continues without voice.
- Pulse - The installer will offer to set up Pulse, the unified daemon that runs the Life Dashboard, voice, and observability. Go ahead and say yes — but know that on Linux this part doesn’t fully take. We’ll finish it in Step 7.
- Menu bar app - This is a macOS-only feature. Skip it.
When the wizard finishes, it tries to hand you straight into your assistant. On Linux that handoff doesn’t quite land (more on that in the next step), but the install itself is done.
Step 6: First Run and Authentication
The PAI installer writes a pai command into your shell’s configuration file — it detects which shell you use and picks the right file (~/.bashrc for bash, ~/.zshrc for zsh, and so on). But its final “launching pai” step is still written for macOS: it tries to hand off into zsh, which most Linux installs (Debian, Ubuntu Server) don’t use and often don’t even have installed. So that last step quietly does nothing.
There’s nothing broken — the pai command is sitting in the right place — you just need to load your shell config and start it yourself. For bash (the Debian/Ubuntu default):
source ~/.bashrc && pai
If you use a different shell, source that shell’s config file instead. The Linux adaptation script in the next step also checks this for you and prints the exact command. And if your shell says pai isn’t found, you can always launch it directly with bun ~/.claude/PAI/TOOLS/pai.ts and let the next step fix the alias.
The first time you run it, you’ll walk through a few prompts:
Color scheme: Pick dark mode, light mode, or a color-blind friendly version of each.
Login method: Select “Claude Account (with Subscription)”. This is where you’ll need that Claude Pro account. If you don’t have one yet, head over to claude.ai to sign up. The other login methods will likely cost you more money since they use API credits directly.
Browser authentication: It will say “Opening browser to sign in” but that won’t work since you’re in a VM. Instead, copy that long URL it displays. Paste it into a new tab in your web browser. Sign into Claude there (or if you’re already signed in, it will just ask you to authorize). Click Authorize, copy the code it gives you, and paste it back into the terminal where it says “Paste code here.”
Login successful: Hit Enter to continue.
Safety warning: It will warn you that Claude can make mistakes and that you need to review what it does. This is part of why we’re running it in a VM, right? We’re not giving it access to anything sensitive until we’re comfortable with how it works.
Trust folder: It will ask if you trust the .claude folder. You’ll need to choose “Yes, I trust this folder” to use PAI.
And then you’re in. You should see an interactive prompt. Try this to make sure everything is working:
“What’s my name and what skills do you know?”
It should know your name (from the wizard) and list a few dozen skills that come with PAI out of the box. If you see that, you’re ready for the next step.
Step 7: Adapt PAI for Linux
PAI 5 is built on macOS, so there are a few things that need patching for Linux. The good news is the list is much shorter than it used to be — most of the old PAI 4 Linux quirks got fixed upstream. What’s left is six things:
- Pulse needs to be set up as a service. On macOS, Pulse runs as a
launchdjob. Linux doesn’t havelaunchd, so back in Step 5 when the installer tried to register Pulse, it couldn’t. We’ll register it properly with systemd instead. - A couple of folder names need symlinks. macOS filesystems don’t care about uppercase versus lowercase, so some of PAI’s internal paths work there by accident. Linux does care, so we add two small symlinks to make those paths resolve.
- The installer’s leftover shell files need cleanup. It drops a
~/.bash_profilethat silently breaks the standard login-shell chain on Ubuntu and Debian, and writes zsh config lines you may never use. The script cleans both up, and only when it’s safe to do so. - The
paicommand needs to be wired to your shell. The installer puts it in the right place, but only confirms the launch path for zsh. The script makes sure it’s set for whatever shell you actually run. - bun needs to be visible to background processes. Hooks, cron jobs, and systemd units don’t read your shell config. One symlink in
/usr/local/binfixes that whole class of quiet failure. - Voice playback needs a Linux audio player. PAI’s voice handler shells out to
afplay, which is macOS-only. We patch that one line to useffplay/paplay/aplayinstead — whichever your system has.
Every one of these fixes comes from real installs, not theory. The shell and symlink fixes are running today on multiple long-lived PAI 5 Linux boxes I set up and maintain. The Pulse service and voice patch are how my own workstation install runs.
Rather than do this by hand, you can let your assistant do it. Paste this into the prompt:
Read this URL and follow the instructions to adapt PAI for Linux: https://gist.githubusercontent.com/chriscantey/e2f64257ec3c8cbe07898f6718636332/raw/pai5-linux-adaptation.md
Your assistant will read the file, create the two symlinks, clean up the installer’s shell leftovers, wire up the pai command for your shell, link bun where background processes can find it, write a systemd service for Pulse, patch voice playback for Linux audio, start Pulse, and verify the Life Dashboard is responding on http://localhost:31337.
A note on what just happened: This “read a URL and follow the instructions” pattern is powerful. It’s also a good example of why you want to be thoughtful about what you point your AI at.

Remember earlier when we talked about curl | bash? That’s running code from the internet based on trust. This is similar, but instead of code, it’s instructions for an AI that has access to your system. If that file contained malicious instructions, your assistant might try to follow them.
From the outside, these might seem like the same risk, but there’s an important difference. A shell script can be more predictable. You can read it and see exactly what it will do. It’s traditional programming: the same script run twice will do the same thing.
An AI agent is different. Ask it to do the same task twice and it might take different approaches. Run it on a different system, with a different person, against a different backend, or with a future version of Claude, and the behavior may vary. That flexibility is what makes agents powerful, but it also means there’s more room for them to interpret, improvise, and find creative paths to a goal. Great when you want that, less great when someone’s trying to trick them.
This is one example of what’s sometimes called prompt injection: content designed to manipulate an AI’s behavior.
When your assistant searches the web, reads files, or fetches URLs, it might encounter instructions embedded in that content. The same way you give it instructions, someone else could sneak instructions into a webpage the assistant reads, and the assistant might follow them without realizing they came from an untrusted source.
PAI has hooks and protections in place to prevent certain things from happening, and running as a non-root user adds another layer. But these are layers, not guarantees. The contained environment we set up is part of the overall approach: you can learn how this works, build comfort over time, and be more thoughtful about what you expose it to as you expand its access.
More on security practices in a future post.
Known Rough Edges on Linux
PAI 5 runs well on Linux once the steps above are done, but a few macOS features don’t have a Linux equivalent. None of these stop you from using the system:
- The menu-bar app is macOS-only. The installer offers it during setup; just skip it on Linux.
- iMessage integration is macOS-only. Pulse runs fine without it — those pieces just stay dormant.
- Browser-based verification works differently. PAI 5 expects a real-Chrome browser tool that needs a desktop session. On a headless Linux VM you’d use a headless browser instead. That’s a bigger swap than the patches in Step 7 — I’ll cover it in a follow-up post and adaptation gist.
- Voice audio still won’t play on a headless VM, even with Step 7’s patch. There’s no PCM device to play to. The patch matters when you’re running PAI on a Linux desktop / workstation with actual audio hardware.
This is the nature of running a macOS-born system on Linux: the core works, the edges need adapting, and the list keeps getting shorter as the project matures.
What You Have Now
At this point, you have:
- Claude Code running on Linux
- PAI 5’s skill system loaded
- Pulse running as a systemd service, with the Life Dashboard at
http://localhost:31337 - Linux-specific patches applied
You can start exploring. Type /help to see available commands. Try invoking a skill. Open the dashboard in your browser (from your main computer, tunnel it first with ssh -L 31337:localhost:31337 you@your-vm-ip, then open that same URL locally). Break things. Rebuild.
Try It: Build Something
The best way to understand what your assistant can do is to build something with it. Here’s a quick one you can try. Paste this into the prompt (replace the city with your own):
Build me a simple web page that shows the current weather for [insert your city name here]. Use a free and open weather API that doesn’t require an API key. Fetch the current conditions and display them in a modern, nice looking page with a dark background. Serve it so I can view it in my browser.
You’re going to see a lot of stuff fly by, especially if you’re not used to watching code. That’s okay. Watch as it works through the problem: searching for weather APIs, writing HTML, fetching live data, spinning up a server. Part of what PAI adds to Claude Code is all this thinking and verification, making sure it’s actually achieving what you asked for. If it hits a problem, it’ll try to fix it or help you understand what went wrong. It might take a little while, especially the first time. When it gives you a URL, open it in your browser. You should see your weather page, built from scratch, running live.
It might also do something interesting: download tools it needs to help you. For example, it may install a headless browser so it can open the page and verify its own work. Notice I said “might.” Running the same prompt on two different systems, one time it did its own verification, another time it didn’t. That’s the nature of these systems. It’s also a little spooky when it just downloads tools on its own. That’s why we’re in a VM.
That’s the difference between a chatbot and an agent. The chatbot would give you code to copy, or possibly a preview. Your assistant actually builds the thing and runs it. And if you give it the right access, it can put that page online for you, all in one go. Then you can work back and forth with it to add features, change the design, and build on it over time. All without the copying and pasting.
Where to Go From Here
Spend some time with it. Point it at some data you’re comfortable experimenting with. Think about something you’ve been wanting to build: a tool, a design, a dashboard, a 3D model, really anything is worth a try. It’s running on a computer, so it can run the same tools you’d run yourself, and in many cases it can grab new tools to work with.
If you want the deep dive on the philosophy and architecture, read Daniel’s PAI article. The concepts will land better now that you’ve seen the system in action.
This is part of a series. I’ll be posting more about security practices, building custom skills, and how I’m using this system in my own work. Subscribe or check back if you want to follow along.
Resources
- Daniel Miessler’s PAI Article - The complete system overview and philosophy
- Project GitHub - The source repo (renamed from PAI to LifeOS in July 2026)
- PAI v5.0.0 release tree - The frozen v5.0.0 snapshot this guide installs
- Linux adaptation gist - The Linux adaptation instructions from Step 7
- NetworkChuck’s VM video - Great intro to VMs and VirtualBox setup
- Ubuntu VirtualBox tutorial - Official guide for running Ubuntu in VirtualBox
This guide installs PAI v5.0.0, pinned to the exact release I run and have tested. Upstream renamed the project to LifeOS in July 2026 and has kept moving. I haven’t made that leap yet, but I’m looking forward to it, and this page stays on v5.0.0 until I publish a tested upgrade guide. Last updated July 2026.