Just looking for the shopping list? Skip to the short version. Or open the table of contents above to jump to a section.
I shot film as a kid, and I left it behind quickly once digital gave us “infinite photos.” I loved every step of that ride, the cameras picking up more quality and sensitivity and dynamic range every year, and I loved it well into the smartphone era. Really, I still do. But somewhere in there I lost my excitement for taking pictures. Was it too easy? Was it too good? I don’t know. Finding film again relit my love of photography. Maybe it’s the constraints. Maybe it’s the work and time and the hands-on process that sits between pressing the shutter and finally looking at the photo.
That hands-on process is the part that grew on me, and it’s why I now do the whole thing at home: developing the roll, scanning it, and converting the negatives. For years I assumed all of that needed a darkroom, and honestly that assumption is what kept me from trying for so long. It turns out the darkroom is for enlarging and making prints. If you only want to develop your film and then scan it, you don’t need a darkroom, an enlarger, or any of the gear that picture in your head probably includes. A light-tight changing bag and a kitchen counter cover it.
This is the personal version of how I do it, with enough detail and links that you could actually go buy the pieces. It isn’t the only way, and plenty of people do every one of these steps differently and get great results. Use what you have, because nothing here is sacred.
Developing
Almost everyone I talk to who developed film back in the day is shocked that I develop color at home. Color has a reputation for being finicky and lab-only, but with the kits I use it’s only a little more involved than black and white, and it gets easy after a roll or two.
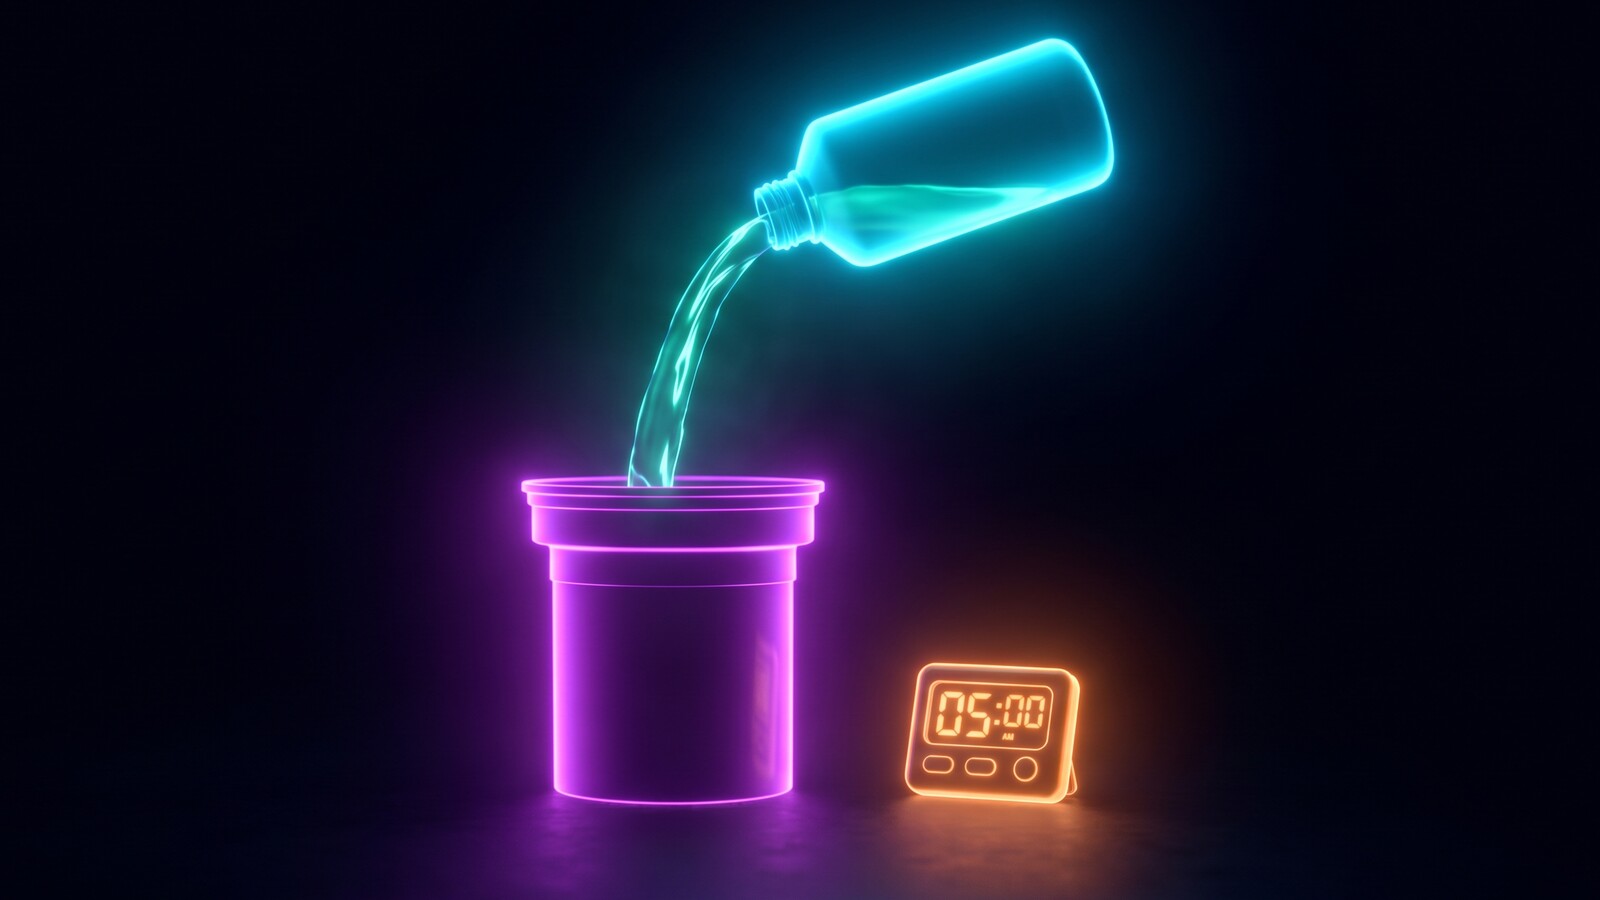
The film goes into a light-tight tank, you pour warm chemistry in and out on a timer, rinse it, give it a last dip with a drop of wetting agent so it dries without water spots, and hang it to dry. Color and black and white are a very similar dance with different chemistry. Color runs two chemical steps, and the monobath I use for black and white does it in one, but both end the same way, with a rinse and a roll hanging to dry.
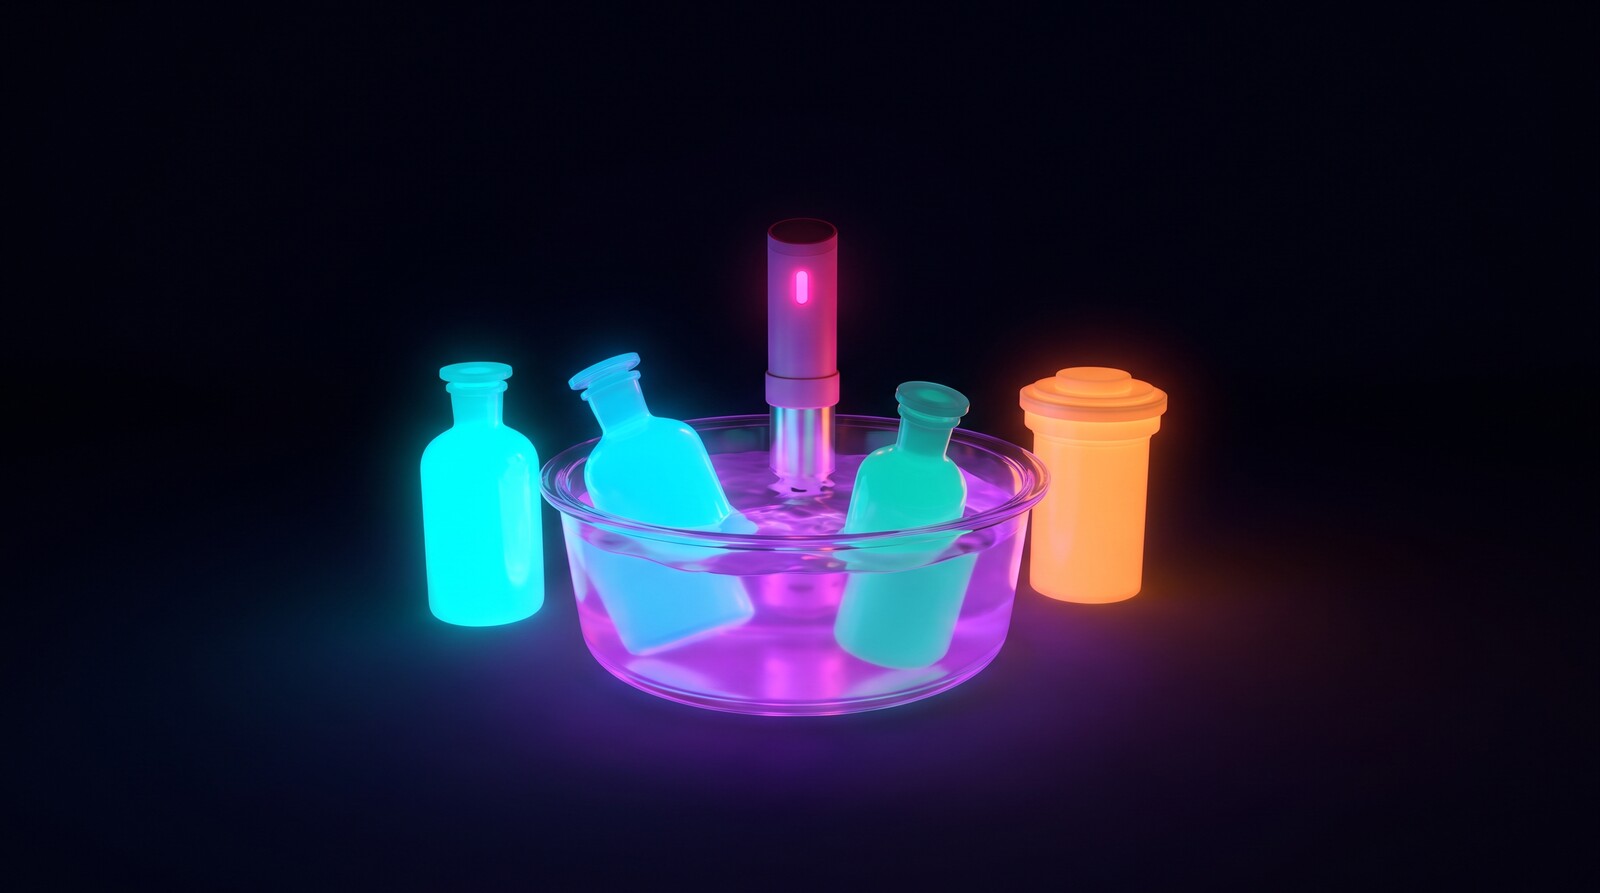
For color I use Cinestill’s C-41 kit, and for black and white their DF96 monobath, which does the develop-and-fix step in one go. Both are powders you mix with distilled water and reuse for a good long while. The one fussy part is temperature. Color likes to sit right around 102°F, so I float the chemistry bottles in a dish tub of water and hold it warm with a sous vide, the same kind you’d use for cooking. Cinestill makes a purpose-built one if you want the film-specific version, but a $40 to $50 kitchen model does the job fine. For checking temps I use a digital barbecue thermometer with plug-in probes, one in each chemical, so both come up to temp together and the film probes stay separate from the food ones. Any thermometer that’s accurate works.
A heads up about how I actually run these kits. Technically I think you’re only supposed to reuse the chemistry a handful of times, and a lab running fresh chemistry to spec is going to beat me on consistency. If you’re doing professional work, let them. But for what I shoot and the looks I like, the results are high quality as far as I’m concerned, and I get dozens of develops out of a kit. This isn’t a cheap hobby, but stretching the chemistry that far is a big part of what makes the at-home side of it doable.
Past the chemistry it comes down to a Paterson tank, a changing bag for loading the film in the dark, and somewhere low on dust to hang the roll afterward. I hang mine from a hanger with little metal clips I picked up at Daiso, though clothespins work too if you’re careful with the film. Loading the reel by feel is the only part that really takes practice, and everything else is more forgiving than you’d expect.
Scanning
Once the negatives are dry you need to turn them into digital files, and there are basically three routes. They span a wide range of money and effort.
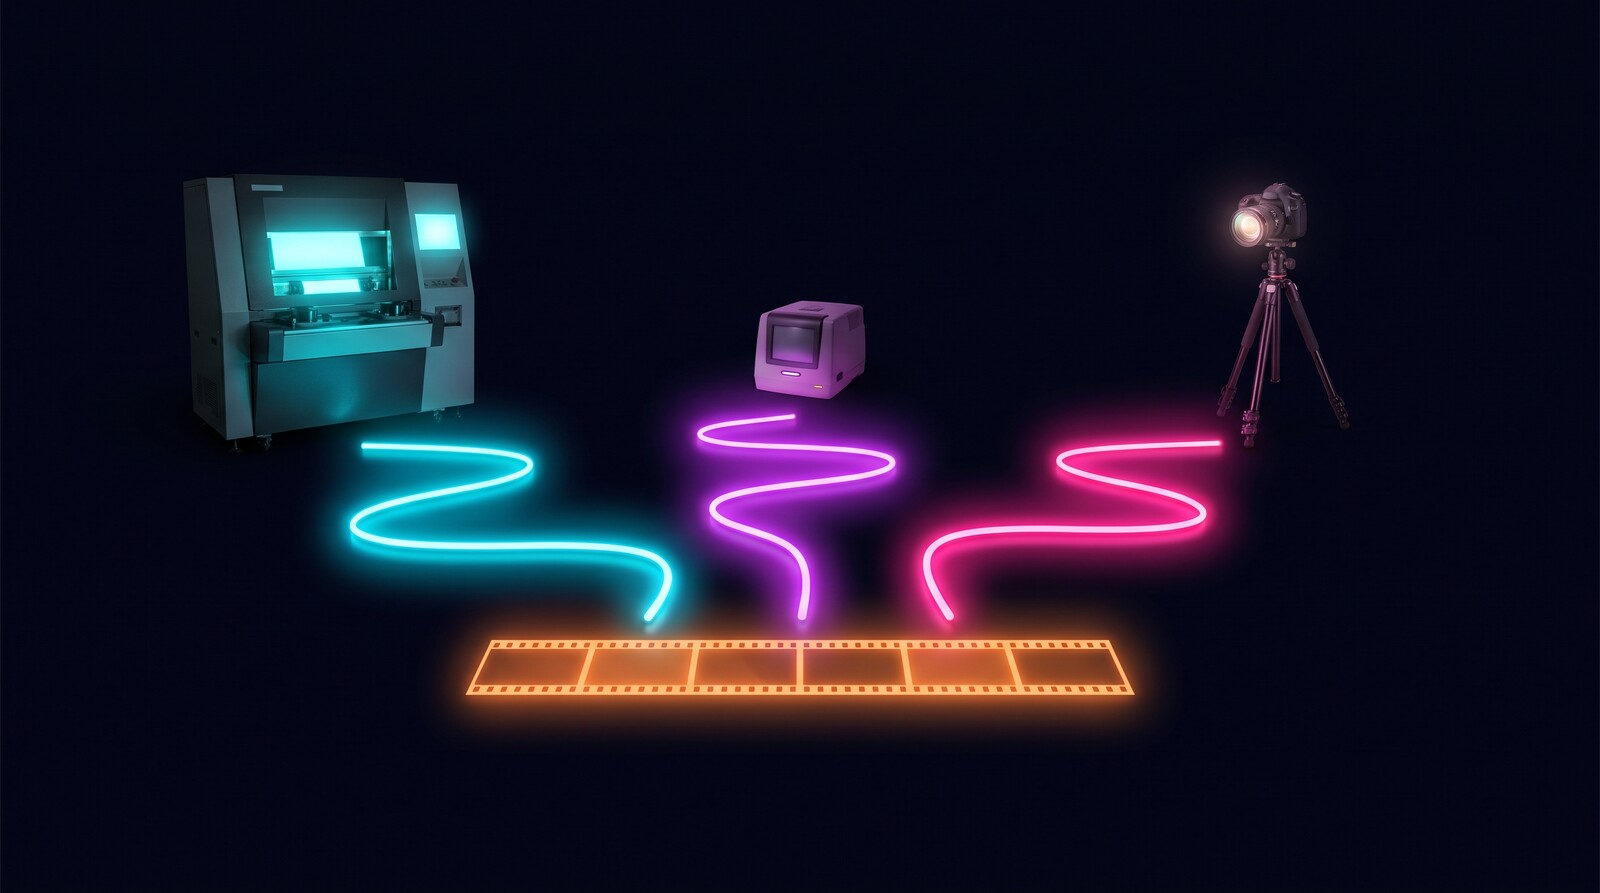
The first is a professional scanner, the kind a real photo lab runs. They’re excellent and they cost thousands of dollars, so it’s not where most of us start.
The second is a purpose-built consumer film scanner, usually under a thousand dollars, and the quality across that category is all over the map. I can’t really point you at a good one. The only ones I’ve spent time with were the cheap sub-$100 and $200 units, which are different machines but land in the same place, and I’d tell you to skip both. If you go this route, it’s worth reading up on the current options, because I don’t have the experience to steer you toward the right one.
The third is DSLR scanning, which is what I landed on, mostly because I already owned a DSLR I could put to use here. You photograph the negative with a digital camera and a macro lens. It reuses gear a lot of us already have, the results are excellent, and the rest is building a small rig around it. That’s the route I’ll actually walk through, since it’s the one I know.
Camera and lens
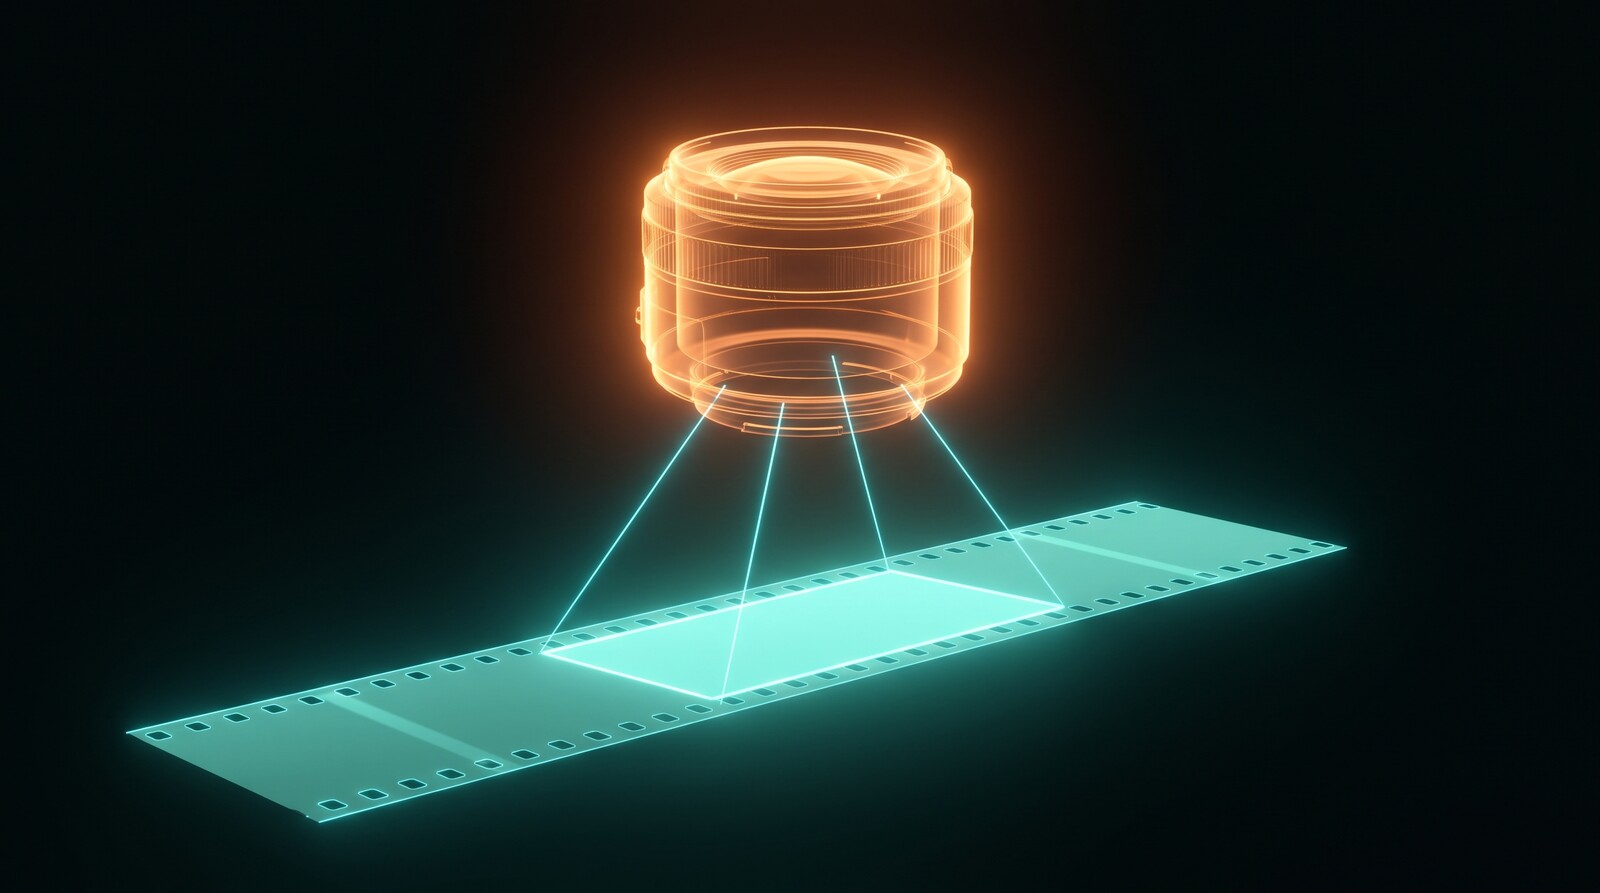
The camera matters less than you’d think, but it does matter some. You want a digital camera with a reasonably decent sensor, though nothing exotic. Mine is the Canon 7D that had been sitting on a shelf for years, an 18-megapixel camera from 2009, and that’s been plenty for everything I do with these scans. The piece that matters more is the lens. A normal lens projects a slightly curved field, so the corners of a flat negative end up soft, while a macro lens is built to image flat things flat. Mine is a used Sigma EX 50mm f/2.8 DG Macro, and there are plenty of good options like it for just about every mount. Hunting it down was really the only proper shopping task for me.
The light
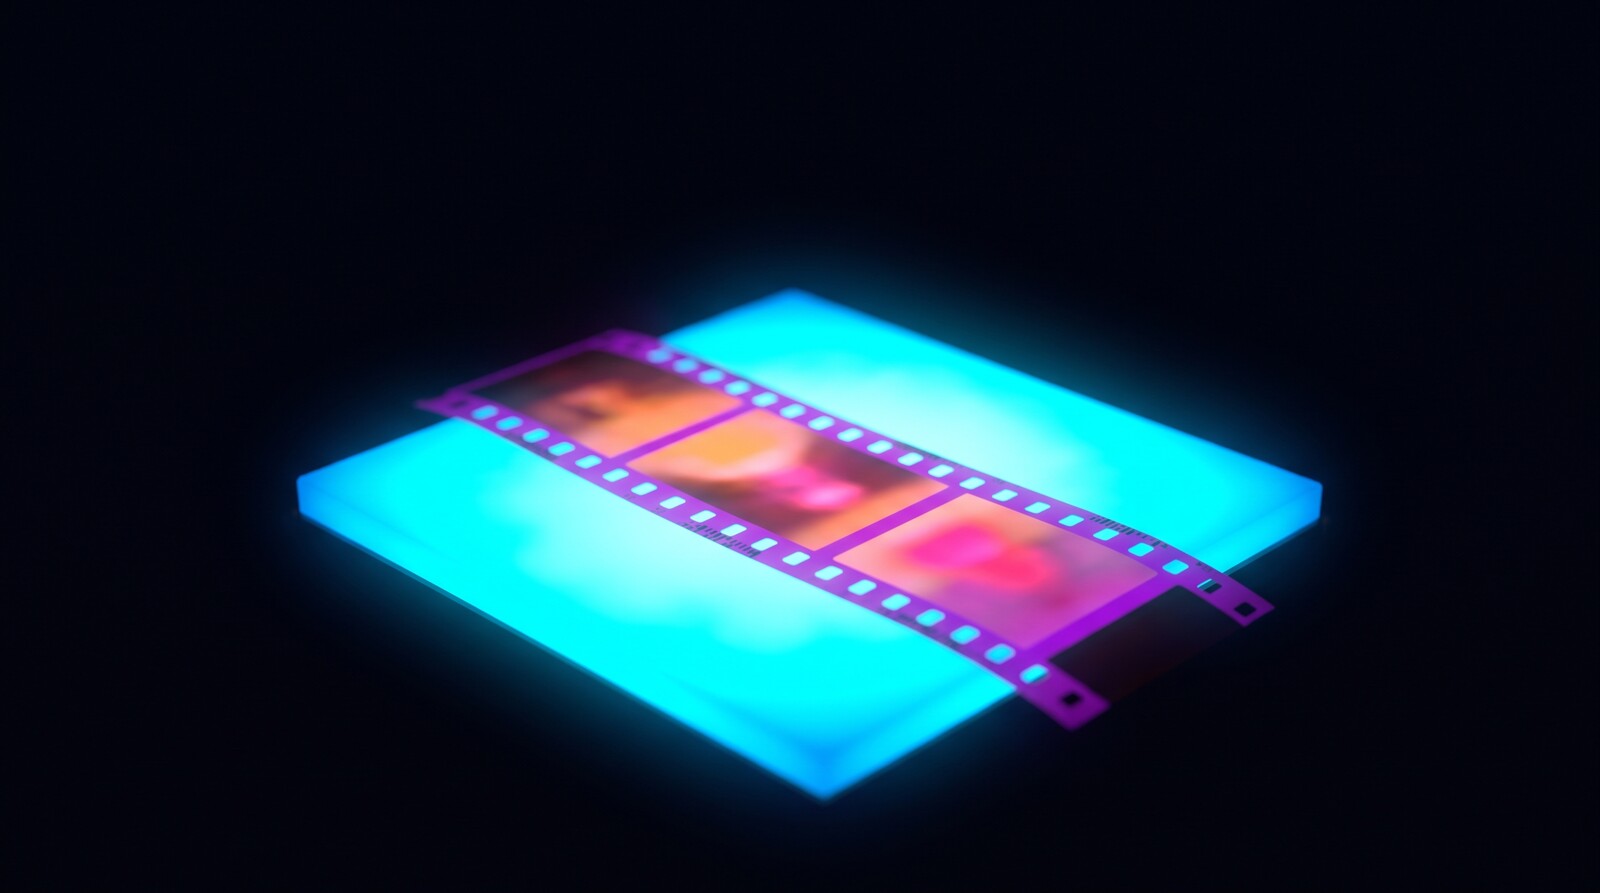
Behind the negative you need an even, color-accurate light, ideally one with a high CRI rating so the colors on the film come through true. I started with an LED panel I already owned, an Elgato Key Light Mini, the kind of thing you buy for video calls, and it worked great. If you’re buying something, Cinestill’s lights are the easy call. I’m now using their CS-LITE+ SpectraCOLOR light and I like the results, though the cheaper CS Lite is great too and runs about fifty bucks. Either one is plenty.
Holding the negative flat and square
The negative has to sit flat and parallel to the sensor, and the camera has to sit square above it. I 3D printed my rig. I bought the carrier design from Tone, printed the parts, and made a few of the surrounding bits, including the leveling plate and a copy stand, with my AI assistant. Tone also has a free version of their carrier on MakerWorld that should do a very good job, the copy stand I printed is free too, which matters because copy stands can get surprisingly expensive, and there’s a whole pile of community carrier designs if you want to browse. I wrote about that side of it in AI-assisted 3D printing. I’m also in the middle of rebuilding my copy stand out of metal and wood, just for something sturdier that I don’t have to keep re-leveling from the 3D printed leveling plate.
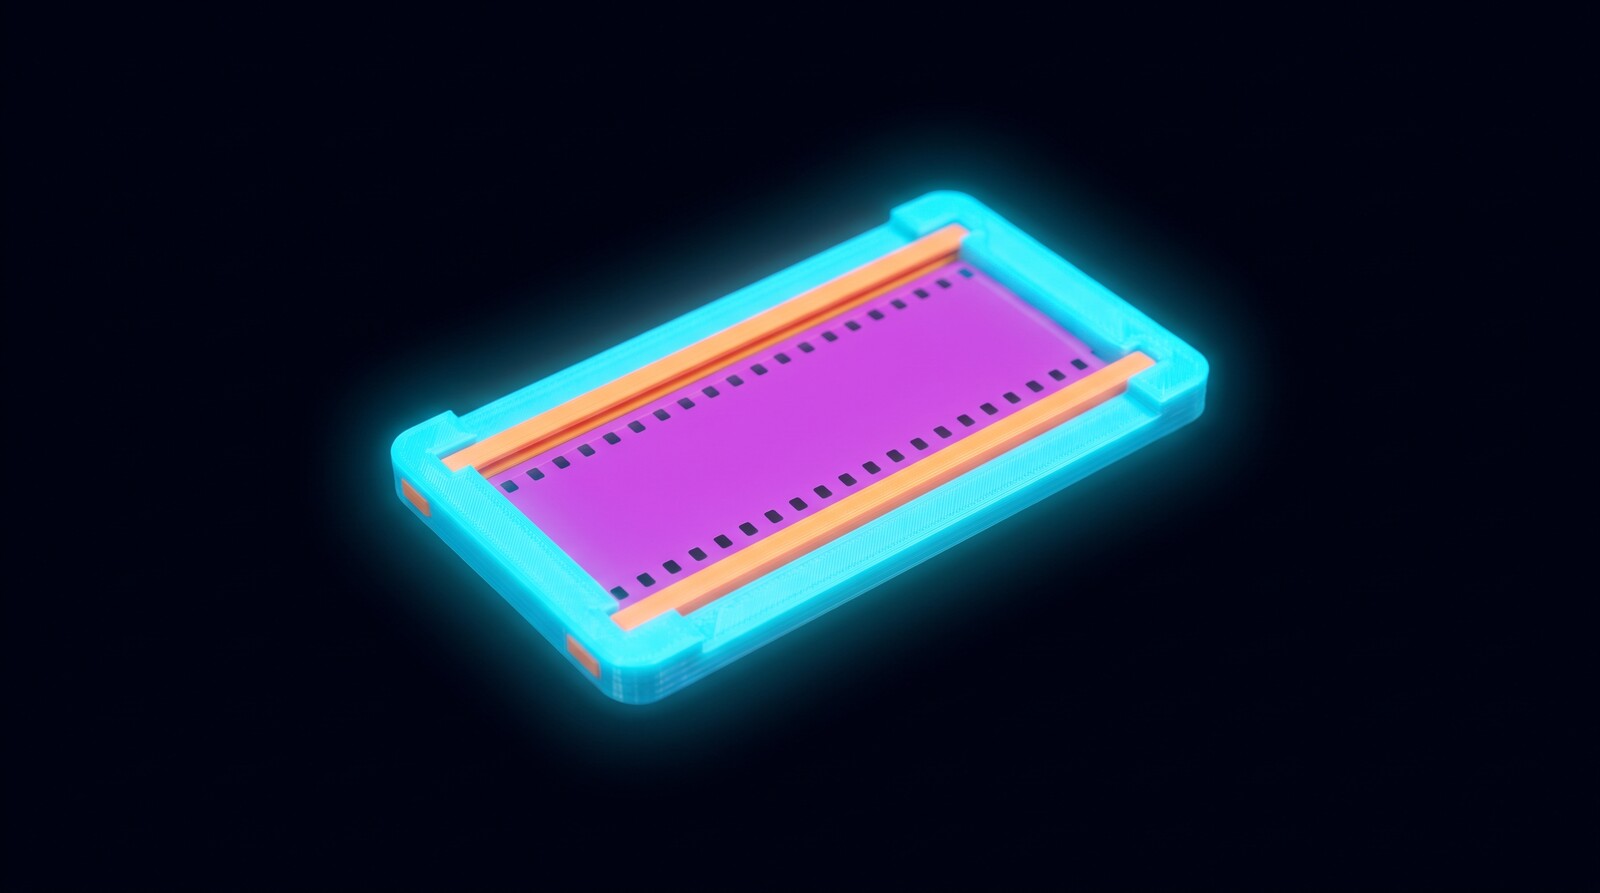
If you don’t have a 3D printer, you don’t need one. You can buy purpose-built film holders straight from Cinestill or B&H. In fact, you could do most of your scanning shopping in a single cart at Cinestill: the light, the holders, and the conversion tools are all there. I pieced mine together across a few surfaces instead, including my local camera shop, Samy’s, which is worth supporting if you’ve got a good shop near you. A tripod stands in fine for the copy stand too, if you have one that can hold the camera at the right angle above the film.
And really, you don’t have to buy any of this to find out whether you like the process. You could lay the strip right on the light with something clean between the film and whatever it touches. Don’t trust me on the specifics there, and take care of your film, but the minimum rig is a camera, a light, and a steady way to hold them apart. Everything else is me dialing mine in.
One more budget option I can’t vouch for yet: I recently pointed a friend at the Kodak Mobile Film Scanner. As an actual scanner it did not work well for me at all, it’s a cardboard box you shoot with your phone. But it’s a backlight and a film holder in one, and it can be found cheap. If it hands them a usable light and holder for ten bucks, that might be the cheapest way into DSLR scanning there is. I’ll report back once I hear how it goes.
Tethering
To work quickly, I want the camera tethered to the computer so I can watch a live preview and fire the shutter without touching anything. That’s where Film Tether comes in, a little Mac app my assistant and I put together for the 7D after the old Canon software stopped wanting to run on a modern Mac.
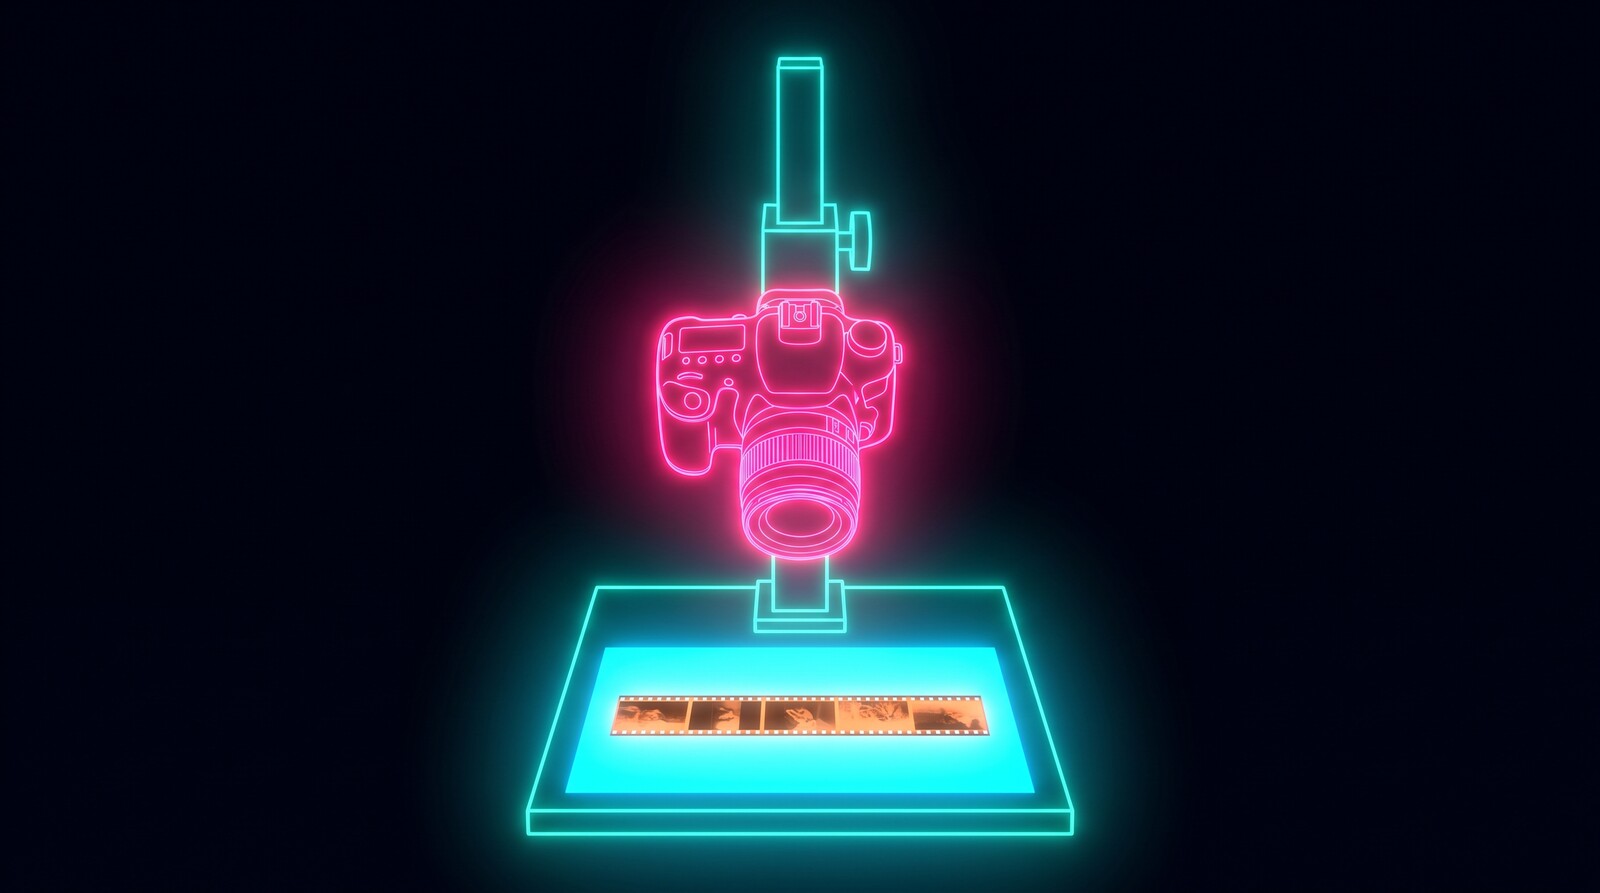
You don’t have to tether at all, though. A cheap remote shutter release from B&H or anywhere else does the same job of firing the camera without nudging it. Worst case, you press the shutter button by hand, or use the self-timer so the rig settles before the frame. Tethering is just one of the things I did to get through a roll faster, not a requirement.
If you do want to tether, plenty of tools have it built in. darktable is free and tethers through gphoto2, and Lightroom Classic has tethered capture built in as well. Camera support varies a lot for both, so check their supported-camera lists against your body before counting on either one.
Converting the negatives
A photo of a negative is still a negative, and color film has that orange mask sitting over everything, so turning it into a normal positive image is its own step.
 There are a few good converters, and I’ve only really used one of them.
FilmLab Pro is the one I use. It’s the step that comes right after Film Tether in my workflow: RAW files of negatives go in, positives come out. Negative Lab Pro is the one a lot of people seem to love, and it’s a Lightroom plugin, so it makes sense if you already live in Adobe. I don’t use Lightroom at the moment, which is why I didn’t go that route. Cinestill also makes a Negative Convert plugin for Photoshop and Lightroom that’s worth a shot first if you’re already paying for those apps, since it’s free. I do my final edits in Apple Photos, nothing fancy.
Videos that taught me
I didn’t figure any of this out from scratch. These are the videos I actually watched, some more than once, while learning to do this at home.
For developing:
- How to Develop Color Film at Home, an In Depth Tutorial from Film Friends
- A Complete and Easy Guide to Develop B&W Film at Home from Kyle McDougall
- How to Develop Color Film for Dummies (Like Me) from Nick LoPresti
- The Easiest Way to Develop Color Film at Home from Cinestill themselves
And for getting into digital camera scanning without spending a ton:
- Film Scanning with a Cheap Old Digital Camera, a Budget Build from Kyle McDougall
- High-Resolution Film Scanning on a Budget also from Kyle McDougall
Shout out to Kyle McDougall (and all these folks) for making such awesome videos that have taught me so much.
The short version
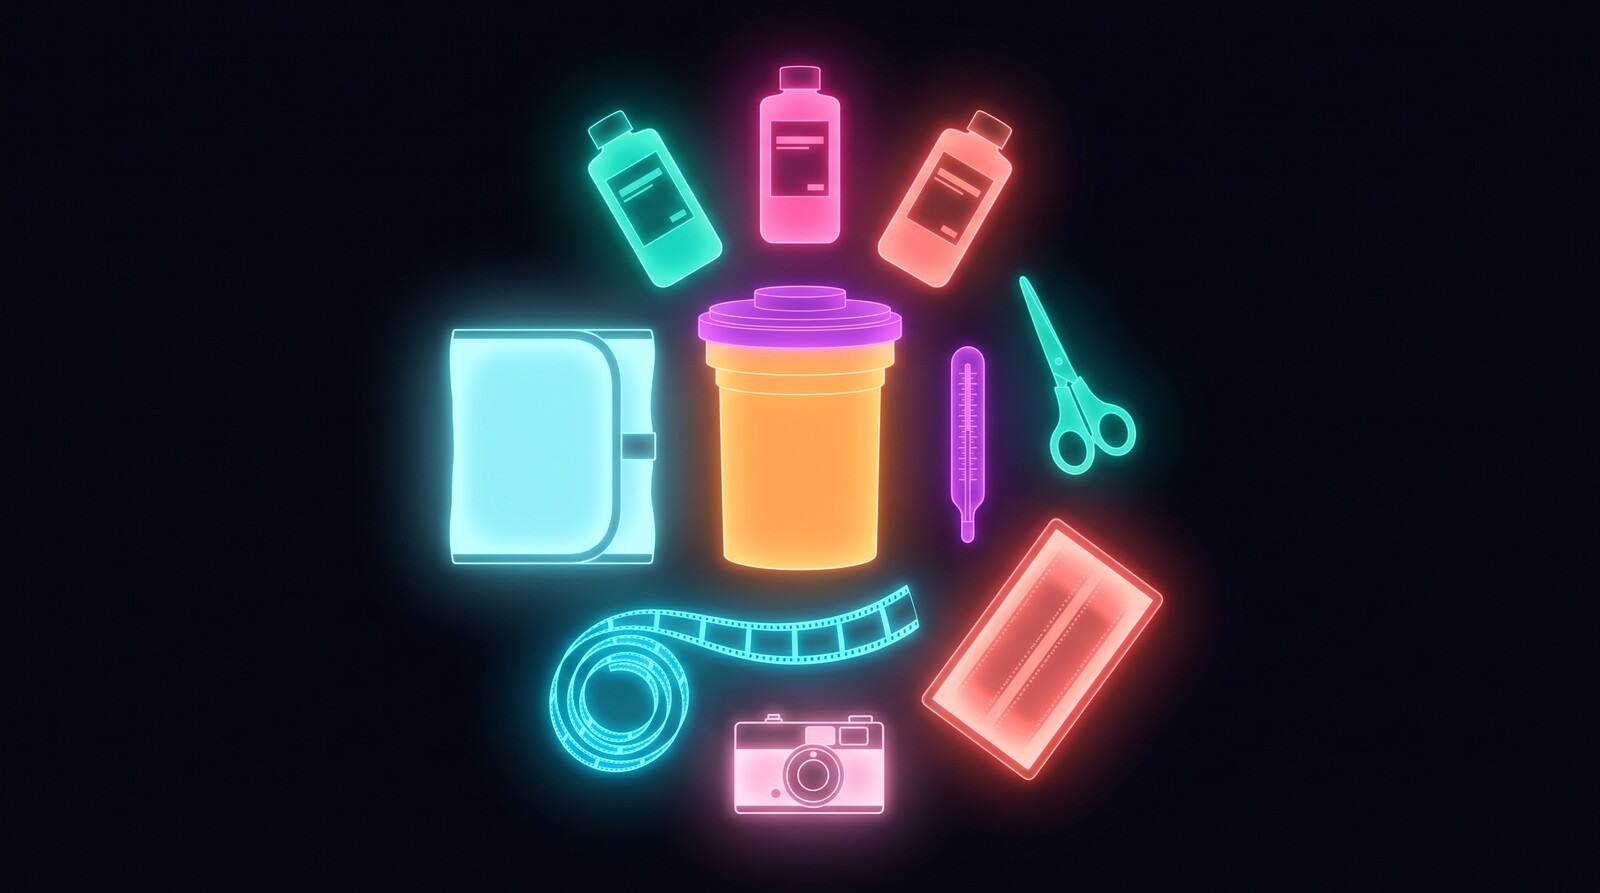
Here’s the whole kit in one place, everything I actually use:
Developing:
- A Cinestill C-41 kit for color, or their DF96 monobath for black and white
- Distilled water for mixing, plus a mixing pitcher and storage bottles for the mixed chemistry
- A Paterson tank and reels
- A light-tight changing bag for loading. Get the large, the medium is tight on the arms
- A film leader retriever to fish the leader out, or a canister opener to crack the canister open inside the bag
- Scissors for cutting the leader and the dried roll
- A sous vide and a dish tub to hold the chemistry at temperature. Cinestill’s TCS-1000 is the purpose-built version, but a $40 to $50 kitchen one works fine
- A digital thermometer to double-check temps. Mine is a barbecue one with multiple probes, one for each chemical, and the film probes never touch food
- A bottle of wetting agent for the final rinse so the film dries without water spots. A bottle lasts about forever
- Masking tape for labeling the bottles, and a couple of cheap funnels for mixing and pouring back
- Little metal clips (mine are from Daiso) or clothespins on a hanger, and somewhere low on dust to hang the roll
Scanning:
- A digital camera with a decent sensor and a macro lens (mine are the Canon 7D and a Sigma EX 50mm f/2.8 DG Macro)
- An even light: the CS Lite, the CS-LITE+, or an LED panel you already own
- Something to hold the negative flat and square: a Tone carrier you print, the free Tone carrier or another community design from MakerWorld, or a bought holder from Cinestill or B&H
- A copy stand you can print, or a tripod that can hold the camera at the right angle above the film
- A way to fire the camera without shaking it: Film Tether, darktable or Lightroom Classic tethering, a cheap remote release, or the self-timer
- Cotton gloves for handling the negatives, a blower for dust, and a three-ring binder with negative sleeves for storing the cut strips
Converting:
- FilmLab Pro, Negative Lab Pro, or the free Cinestill plugin
And if you’d rather not piece all of this together from different shops, Cinestill carries just about everything on this list, not just the scanning side: chemistry, tanks, lights, holders, pitchers, bottles, even copy stands. They even sell a color and black-and-white processing kit that bundles a big chunk of the developing side into one box. One cart covers it.
That’s my whole setup, and it looks like more than it is. Mine collected slowly. I started with a camera I already owned, a light from my desk, and one C-41 kit, and added the rest as the process pulled me in. Start wherever you are with whatever you have. The first roll you pull off the reel and hang to dry, pictures you took and developed with your own hands, will tell you if this is your thing. It sure told me.